


How do I Setup Outdoor Lighting?
Your land may be enhanced perfectly with the accurate outdoor lighting, and installation is simple.
Low-voltage outdoor lighting can increase your home's curb appeal at night and give it an extra layer of protection. These outdoor lighting systems are ideal for showcasing stairs, plants, stonewalls, and other notable landscape. Due to the system's use of 12 volts of electricity, DIY installation is extremely secure.
Choose your Lights:
Selecting your lighting is the first thing you need to accomplish. There are numerous different lighting options available. While outdoor spotlights can draw attention to particular objects, floodlights can illuminate a large area. Thanks to pathway lighting, visitors looking for your property will know where to go at night.
With a flashlight, you may choose what kind of lighting to deploy in certain places. Use a flashlight with a spot and flood mode switch at night to test out various lighting combinations in various places.
Variety Of Lights:
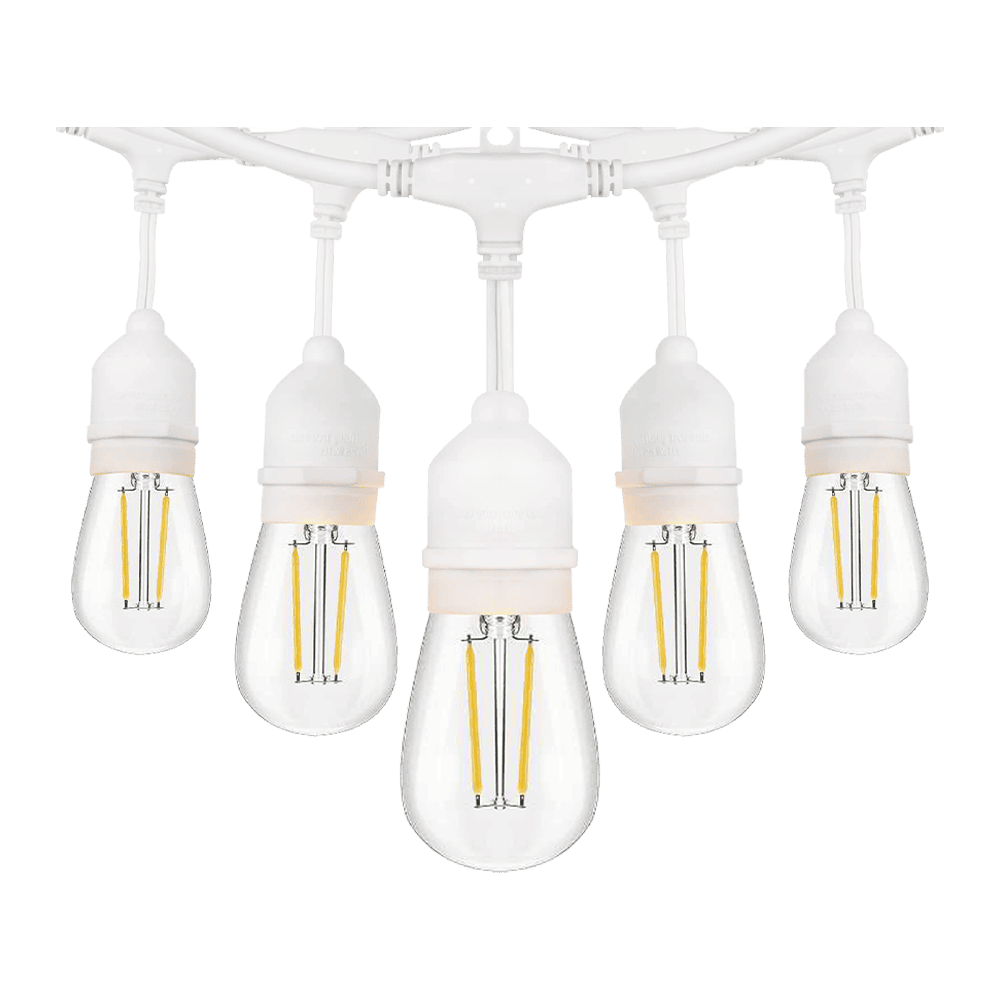
We will be installing low-voltage lighting today, which can be plugged into any outdoor GCFI outlet and is wonderful for adding a decorative touch or illuminating a walkway. We are using a lighting kit that contains all the required parts, but if you are constructing your own or enhancing an existing kit, keep in mind to pick a finish that fits.
Step 1: Overview of landscape lighting
Low-voltage landscape lighting is a straightforward upgrade that can have a significant impact on both the safety and security of your property as well as how it appears at night. There are only three components needed for installation: a transformer, low-voltage electrical line, and the fixtures. These can be placed along walkways, steps, and driveways, or aimed up at trees, walls, and fences. If you've never done wiring before, installing this kind of system doesn't have to be complicated.
The home current is reduced by a transformer to only 12 volts. It must be connected to an outdoor electrical outlet with GFCI protection, a "while-in-use" cover, and a large plastic box that shuts over the power cable. The transformer's capacity must be sufficient to power the system's lights. Between the fixtures, there is a little trench where the cable is buried. You may give your house and yard a warm light at night as long as there is an electrical outlet close by.
Step 2: Arrange the Parts
On the ground, the walkway light fixtures will be placed at a distance somewhere between 8 and 10 feet.
Lay the low-voltage wire along the concrete pathway, following the line of the light fixtures. Lighting systems that are 200 watts or less can use 14-gauge cable, whereas systems that are 200 watts or more can use 12-gauge cable. String the cable under or around any obstacles you encounter, such a fence or a bush.
Step 3: Rotate the Sod
Clear the path by relocating the light fixtures. To remove the top layer of grass, which is about 12 inches from the edge of the walkway, use a plain shovel. Fold the sod over after pulling up on the handle to separate the grass from the dirt. Continue along the walkway in this manner at all times.
Scratch a trench in the ground where the wire will go with the shovel's blade corner.
Step 4: Bury the Landscape Lighting Cable
Place the low-voltage landscape lighting cable in the trench. Leave a little extra cord at each fixture point if you want to connect to the light fixtures. While leaving the cable extending from the ground near each fixture, smooth the soil over the trench. To keep the cable for each fixture above the grass, slice the detached sod where the fixture will be placed and fold it back over the soil.
Step 5: Connect The Transformer
To reach the external electrical outlet, the wire must be elevated. The cable's 12 inches of rubber insulation can then be removed with wire cutters. The transformer has two terminal screws. To keep the cable in place, you must tighten the screws.
Near the outlet, insert a wood stake into the earth. The transformer is then attached to the stake. (It may also be fixed directly to a home wall.) After removing the outlet's "while-in-use" cover, plug the transformer in.
Step 6: Make Holes For Component
Reposition all of the lighting fixtures, making sure they are all evenly spaced. The initial fixture needs to be set up as close to the walkway's edge as you can without projecting in any way. (If the fixture extends into the path, it will be frequently struck by passing pedestrians.)
Use a long steel punch or a big screwdriver to make a hole in the earth for the fixture's stake. Never use a hammer to force the fixture into the ground.
Step 7: Connect the Electrical Wires
The cable sticking out of the sod can be covered by the two connection sections hanging from the bottom of the light fixture. Press them together until you hear a click. As a result, the connectors' pointed points might puncture the cable and establish contact with its wires.
The fixture should light up because the transformer is hooked in, indicating a strong connection. If it doesn't, check the bulb or unsnap and resnap the connector.
Step 8: Install the Light Fixtures
Fix the lighting fixture to the ground stake made of metal. Till the top of the stake is above the ground, drive the fixture and stake into the ground. Verify that it is not bent to one side. Put the cable and connector at a depth of about 2 inches under the sod and into the soil.
Install the remaining fixtures in the same manner.
Step 9: Change out the Sod
Once the lighting fixtures are placed and functional, rake the sod around them. Use the shovel to trim the sod if required around the light fittings. Apply pressure to the sod and soak the area with water using a garden hose